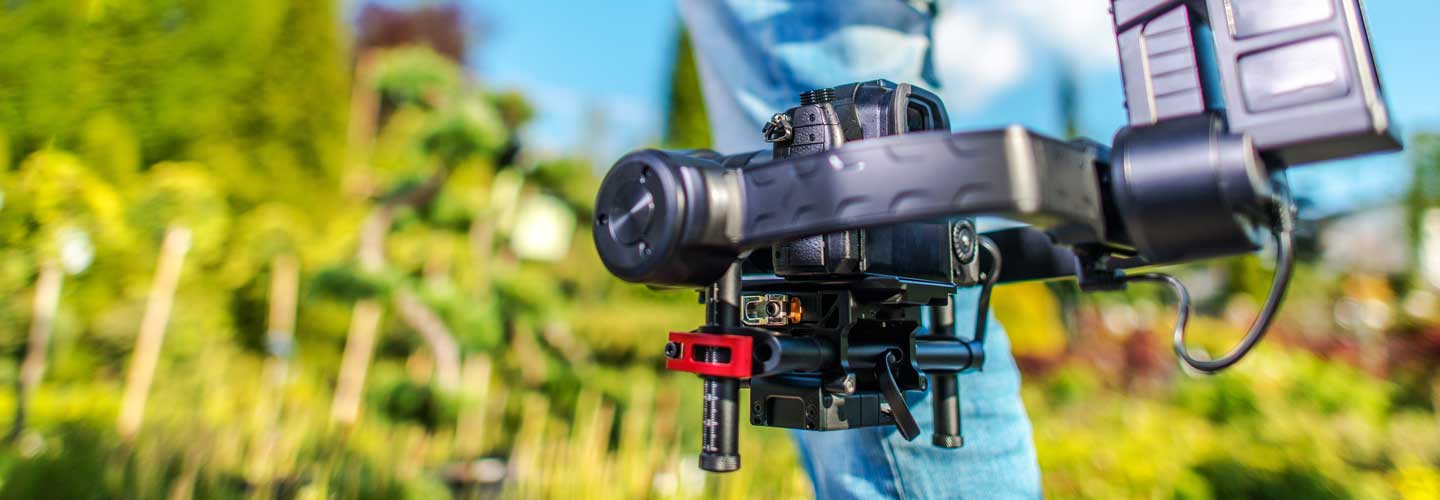
You have a clear vision for your next video. But you’re having trouble finding stock footage clips with the exact camera movements you’re looking for. So what now? Sometimes the only way to craft that perfect shot is to take it yourself.
Camera movements are a fundamental part of video production. They can be a powerful storytelling device, heightening tension, evoking emotions, and bringing the viewer into the action. Without saying a word, camera movements can transform a scene’s entire narrative, and direct audiences’ attention where you want it.
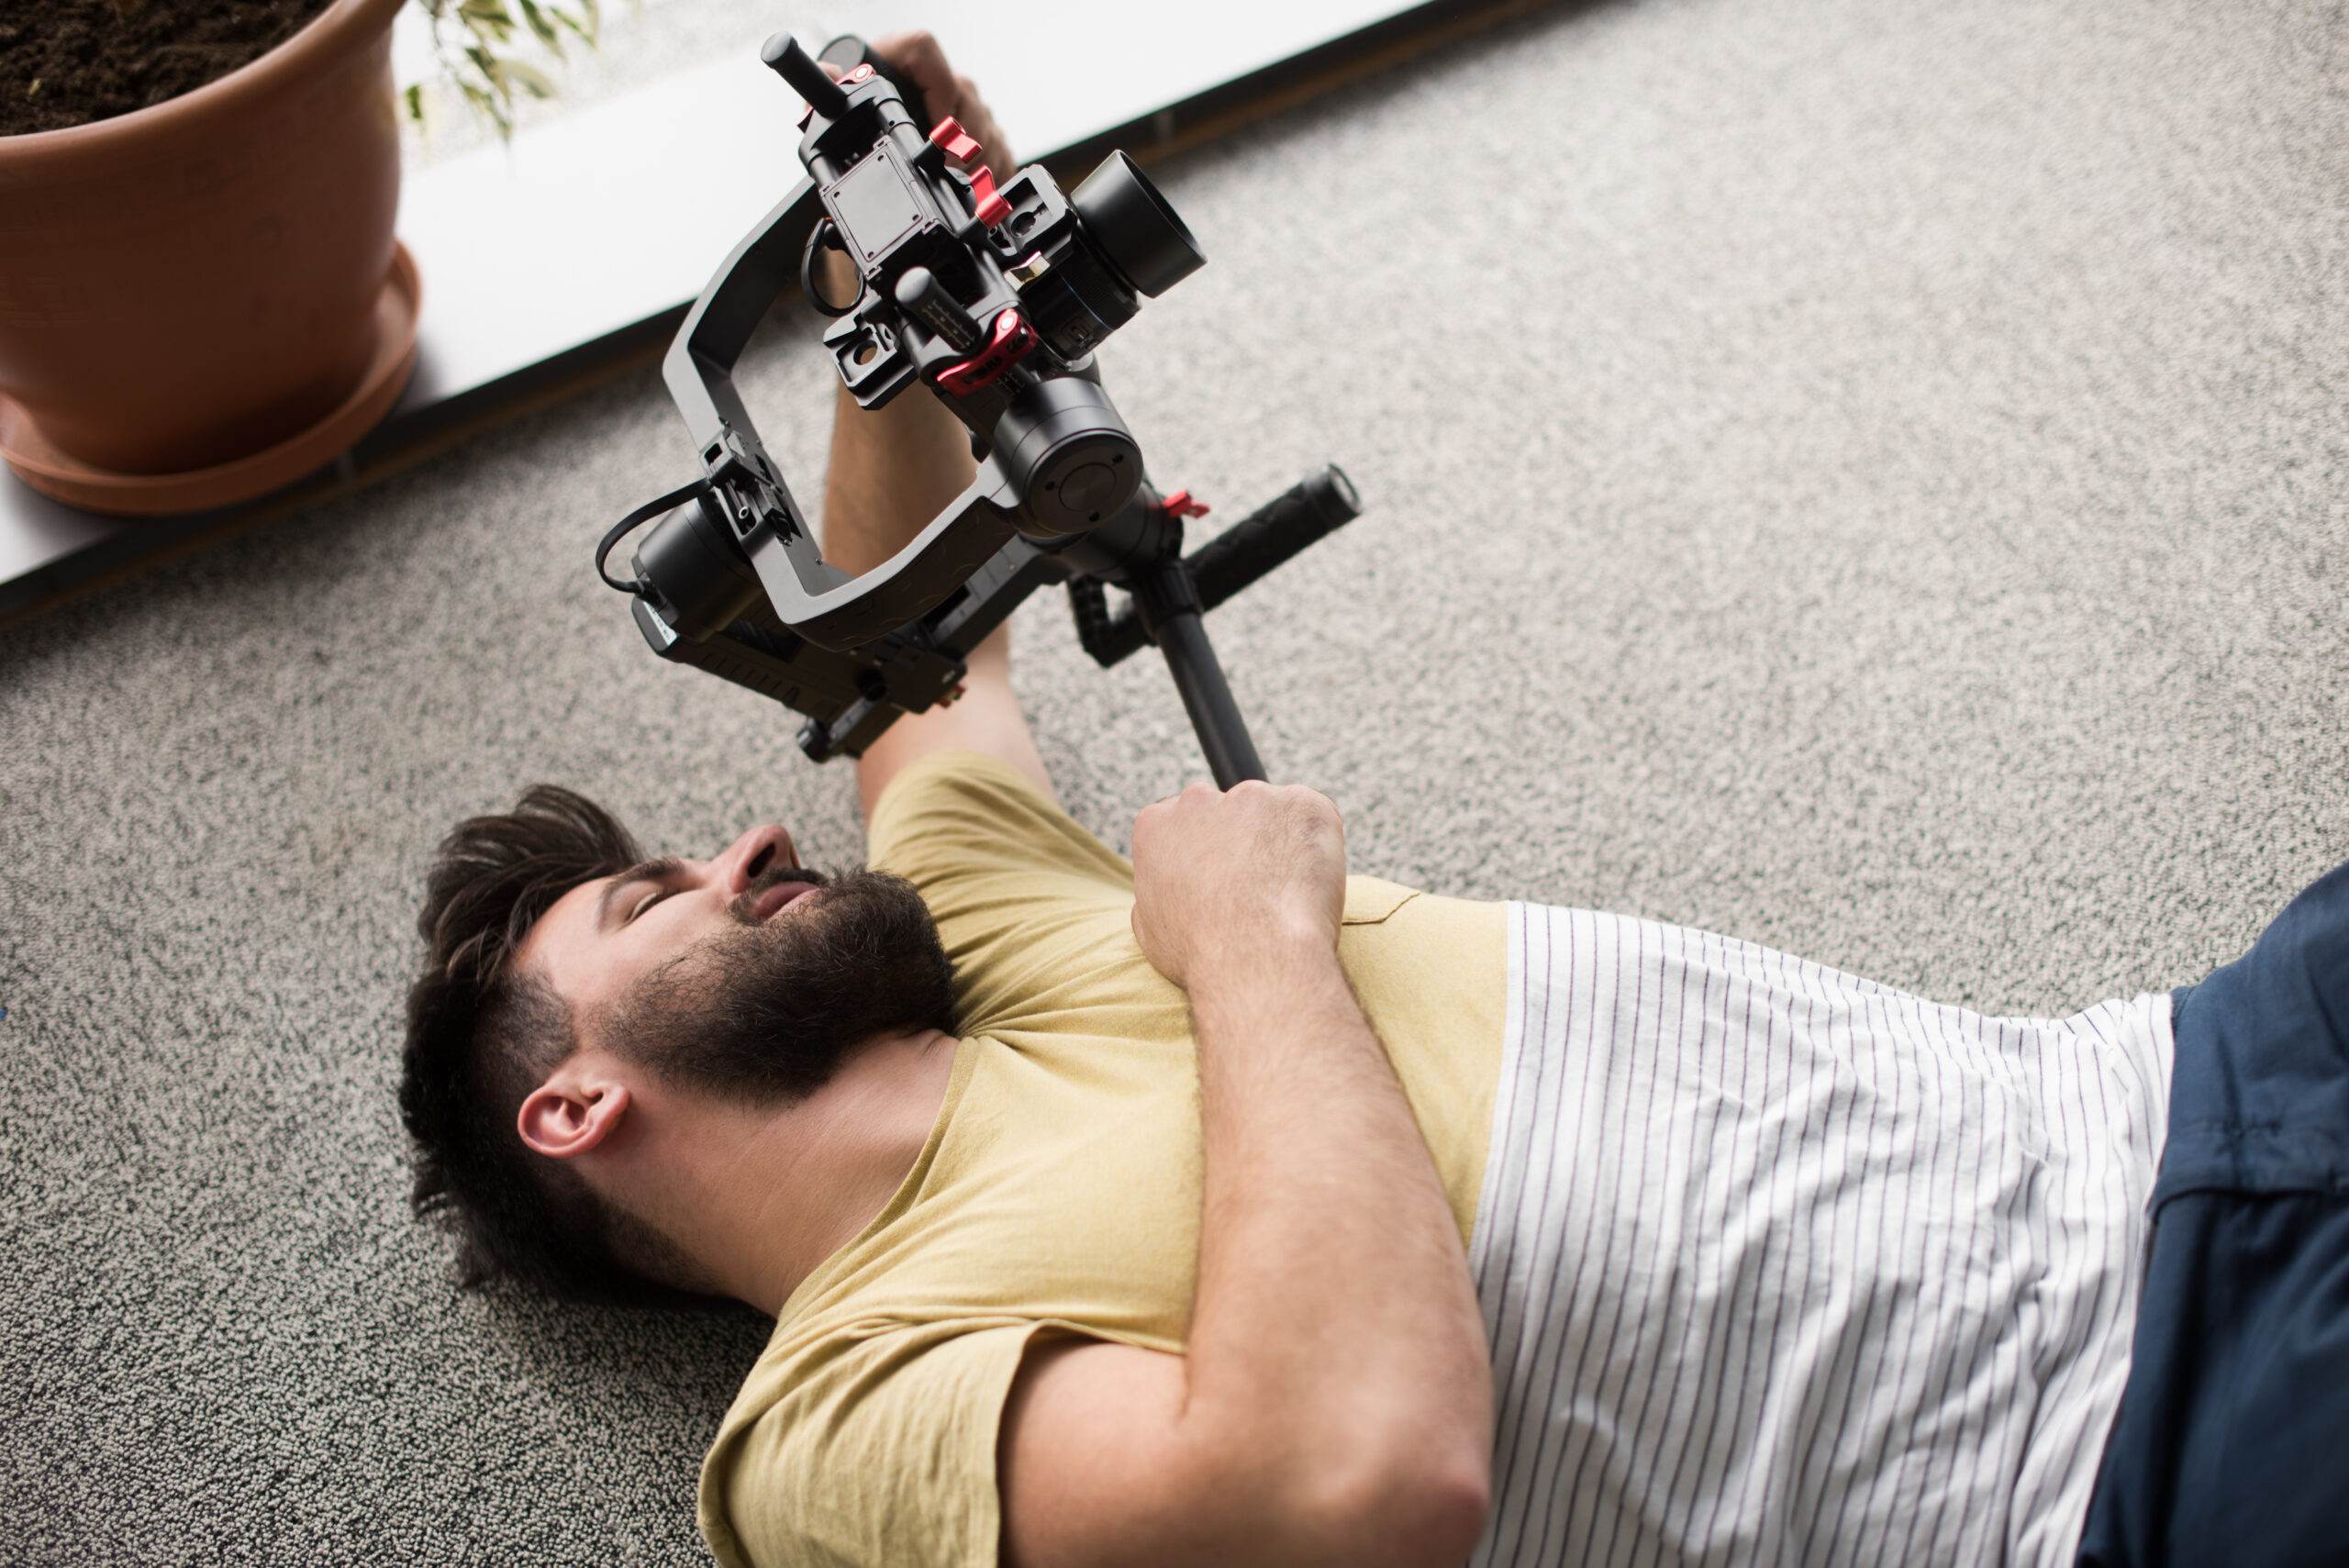
This primer on 7 basic camera movements will give you a quick cinematography refresher course before setting up to shoot. We’ll cover the basics of shot composition, and some tips and tricks on camera techniques for more impactful storytelling. You can also watch our quick shorts video to learn about these 7 essential camera movements in less than 60 seconds.
Table of contents
The 7 basic camera movements you need to know
Basic camera movement #1: Zoom
Zooming is one of the most frequently used camera movements for adding a quick pop of visual interest. A carefully timed zoom can add energy or impact to a scene, or bring a key detail into focus. Zooming is so common that it’s become something of a crutch for videographers looking to make a shot more interesting. Don’t let camera zooms become your default move!
Instead, try using them in creative and interesting ways that serve your narrative. Zoom in (or out) from an unexpected, yet important object or person in your shot. Or use a quick zoom to give a fast-paced video an extra shot of visual adrenaline.
Download this video of a zoom shot
To introduce a zoom movement into your shot, you need a zoom lens that allows you to cycle through a variety of focal lengths. A go-to fan favorite zoom lens is the 24–70mm zoom. With this lens, you can adjust the focal length to any value within its range.
To execute a zoom, the idea is to start zooming in (or out) while the video is recording. It’s simply a matter of rotating the zoom ring or pressing the camera lens rocker button to zoom forward or backward. In doing so, you can zoom in on your shot, like in the scene below in Stanley Kubrick’s The Shining.
However, if you’re using a still lens, meaning one manufactured for photo use rather than video, you may run into the issue of losing focus as you zoom. If your camera has autofocus active, that helps. But with a cinema camera like the Blackmagic Pocket Cinema Camera 4K, you’ll need to refocus as you zoom manually, which can be tricky. This can be mitigated by using a parfocal zoom lens, which maintains focus as you zoom in and out.
Movement #2: Pan
A pan (or panning shot) is when the camera sweeps horizontally from a fixed position, either left or right. Derived from “panorama”, you can use this camera movement to establish locations and track subjects within them. Panning is considered a relatively basic camera movement, but it’s a highly versatile way to set a scene.
For instance, pans can increase dramatic tension by slowly revealing to the audience what the character on screen sees. Alternatively, you can also use them in over-the-top or exaggerated ways for comedic effect, like revealing someone’s expression to another’s actions.
Download this video of a pan shot
Of all the camera movements, a pan is one of the simpler techniques you can use to reveal more of a scene or introduce kinetic energy. All you’ll need is a tripod. It’s best to use one with a fluid head, which allows for smoother pans without stuttering or jerking, and it also helps you come to a natural stop without appearing abrupt. To initiate a pan camera movement, just push the tripod head handle, and you’ll get a shot like the one from Prisoners below.
You can also do this handheld, but that carries the risk of camera shake. To mitigate this, keep your elbows tucked into your lats and use a neck strap for three points of contact with the camera. Then turn your body left to right, or right to left, to create the movement.
Camera movement #3: Tilt
A tilting shot is a camera movement along a fixed vertical axis, either up to down or down to up. Similar to panning, tilting is frequently used in establishing shots where characters or settings are introduced. Tilting the camera down can create an illusion of distance or depth, while tilting up instills a grandiose feeling. Try using a tilt shot to dramatically introduce a character, or to show a character’s POV by using the camera to “nod” in response to a line of dialogue.
Download this video of a tilt shot
The same principles from a pan shot also apply to a tilt shot. You should use a tripod with a fluid head to tilt the camera up or down smoothly to prevent judders, which can pull the viewer away from the scene.
Some fluid heads, such as the Manfrotto 504X, feature a counterbalance system that allows you to set up the camera so it naturally returns to its middle position after tilting up or down. This can be especially useful when bringing the tilt back to center. An example of a tilt shot can be seen in the clip from Zodiac below.
Basic movement #4: Dolly
In both pan and tilt shots, the camera swivels without moving from a stationary, central position. Dolly shots, on the other hand, involve physically moving the camera either forward or backwards. This camera movement is done by mounting the camera to some kind of track or motorized vehicle.
Thematically, a dolly shot is always doing one of two things: bringing us closer to or further from the action. So if you plan to use a dolly, consider whether it impacts the story. If not, it might just come across as eye candy, in which case, a simple tripod shot may serve better.
When done correctly, dolly shots help you play with perspective to create a variety of interesting and dramatic effects. Just make sure your track is stable and allows for fluid camera motion!
Download this video of a dolly shot
To do a dolly movement in its purest form, you’ll need a track and dolly system. Which can easily cost several thousand dollars and also require additional crew members to execute the movement. In this setup, you position the camera on the dolly and move it forward or backward, like in the shot from Indiana Jones and The Raiders of the Lost Ark below.
However, there are also smaller, more practical alternatives, such as using a slider. Sliders typically range from one to a few feet and are supported by tripods. Like a dolly, you place the camera on the slider rails and push it forward or backward. However, a slider won’t cover the same distance as a dolly, and its smoothness may not be quite as refined.
A final option is using a gimbal. In this case, you’d simply position yourself parallel to the subject and walk left or right beside them to mimic the movement.
Basic camera movement #5: Truck
Trucking shots are the same as dolly shots, only the camera moves left to right instead of forward or backwards. In a trucking shot, the camera is rigged to a tripod or vehicle that moves horizontally along a track. This camera movement can set the pace of a scene or follow a character’s movement. Similar to dolly shots, it’s important to make sure the track is free of any jerking or friction. That’s because if the track isn’t clear, the shot may not come out.
Download this video of a truck shot
Truck shots are very similar to a dolly shot, as it uses the same equipment and movement style. The distinction is that instead of moving forward and backward, you’re moving left to right or right to left. While a dolly shot is typically used to push into the action, a truck shot is most often used to follow along with it. You can see an example of a truck shot in the scene below from Once Upon A Time In Hollywood at 00:37.
Movement #6: Pedestal
The pedestal camera movement involves physically moving the camera up or down from a fixed vertical axis. You often see pedestal shots when a camera is framing a tall subject (like a building). You don’t necessarily need to invest in an actual pedestal to create a perfect pedestals shot. Those can be pretty spendy. You can also pull off the effect using a tripod, or even handheld if you’ve got rock-steady hands.
Download this video of a pedestal shot
A pedestal shot can be one of the trickier techniques to pull off because of the equipment involved. Typically, it’s done with a jib, a crane-like piece of gear that moves the entire camera vertically up or down (which is different from simply tilting from a stationary position). But jibs are not only expensive, they’re also large and can require multiple operators.
An alternative option would be mimicking the effect by using the slider. By tilting the slider vertically, instead of sliding left to right, you move the camera up and down. Of course, this comes with limitations, and you’ll need an L-bracket to position the camera facing outward rather than forward. Still, it’s far more practical for a solo filmmaker than hiring or setting up a jib.
Another solution for getting a pedestal shot is to use a gimbal. Simply lift and move the camera up or down, with the gimbal’s gyro stabilization helping to minimize shake. And if any slight movement remains, it can be smoothed out in post-production.
Basic camera movement #7: Rack focus
A rack focus isn’t strictly a camera movement, but it’s an essential skill to master for beginners and experts alike. With a rack focus, you adjust the lens to blur one subject while sharpening another without cutting. This lets the videographer shift emphasis between subjects in a dramatic fashion while directing audiences’ attention.
Download this video of a rack focus shot
To do a rack focus, make sure your camera lens is in manual focus and set to a wide-open aperture to maximize depth of field between the foreground and background. Then, simply shift focus from one point to another.
The sequence below from Casino Royale is filled with rack focus shots, which reveal additional information without having to cut. It’s smart camera work.
For better precision, it’s best to mark your start and end points before rolling. You can do this with a grease pencil (a standard tool for marking focus pulls). While you may not always have a choice of lens, rack focuses are generally better with a cinema lens rather than a still lens.
This is because cinema lenses have a larger focus throw, meaning they require more rotation to shift focus. The benefit here is greater precision, allowing the user to make precise smaller adjustments over a larger area. Still lenses, on the other hand, typically only require minimal adjustment to focus from near to far, making it easier to accidentally overthrow the rotation during the technique.
Find footage with all the camera movements you need with a Storyblocks subscription
The important thing to understand with tilts, pans, and any type of camera movement is how they can reduce the need for extra camera setups or edits in post-production by creating a more natural flow in sequence. Now that you’re fully equipped with these types of camera movements and how to use them, it’s time to work them into your videos. But you don’t have to shoot every shot in your projects by yourself.
You can download a wide selection of motion and shot styles from our stock footage library. That’s where you’ll find a massive assortment of high-quality, royalty-free 4K and HD video clips for your next project. And many of them utilize the camera techniques described above. In fact, Storyblocks has everything from sweeping aerial drone footage to perfectly framed close-ups, and all the shots in between. Save time with our advanced search features and filters to find exactly what you’re looking for.


